Notes on Color Mixing
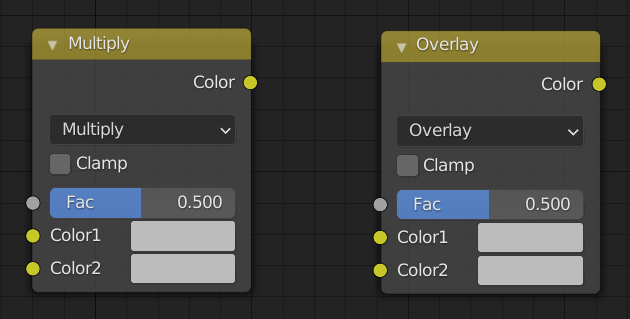
There are two principal modes of color blending used by this tool’s shaders Multiply and Overlay. These are used in a MixRGB type shadernode (Color -> MixRGB in the add node menu).

Multiply and Overlay MixRGB nodes
The node has 3 inputs: two of which are color data from the two bitmaps that are being blended (i.e. the base map and the blend map); the other is the blending factor. The factor is the value exposed in the shader which controls the desired extent of blending (more later).
Multiply Blending
Multiply blending takes a values from the base map and multiples them with values from the blend map
.
The usual effect of this is to darken the image.
Overlay Blending
Overlay blending effectively combines multiply blending with it’s opposite (screen blending - which will usually lighten an image) Thus we combine:
Multiply:
with
Screen:
to give:
Overlay:
( if
)
( if
)
This will give a S-curve type response, where light areas are lightened and dark areas are darkened, with small or no change to the mid brightness areas.
Blending Factor
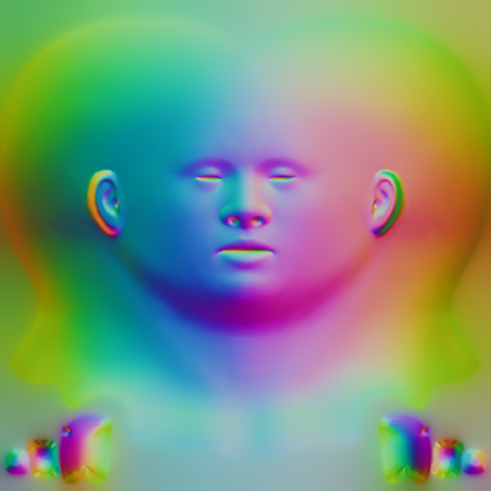
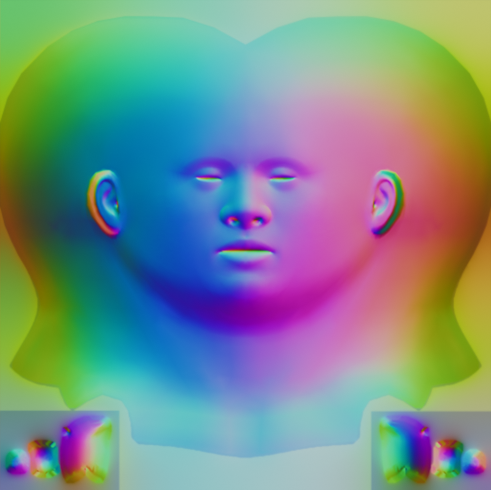
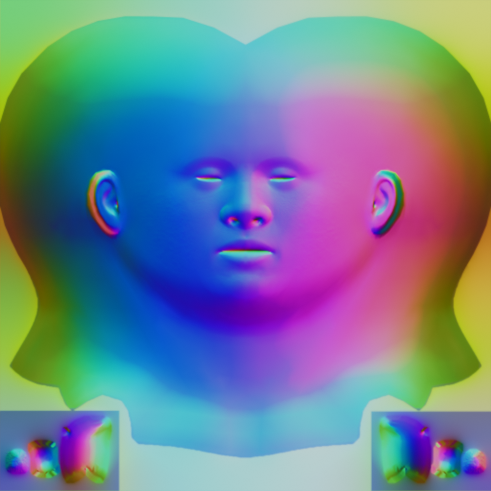
The blending factor is a linear interpolation parameter (between 0 and 1) which describes the extent of blending between the original base map and the fully multiply or overlay blended (see above) map.
The example below is the real example of a base normal map being overlay blended with a micro-normal blend map.
Blending Factor = 0 |
Blending Factor = 0.5 |
Blending Factor = 1 |
The full extent of the blending can be finely controlled using exposed shader parameters (in this example the Normal Blend Strength in the Skin (Head) material).


