Expression Wrinkles
Activating Expression Wrinkles in Character Creator
The ‘Expression Wrinkles’ system in Character Creator was introduced in CC4 version 4.2. It can be easily activated for any applicable character (any CC3+ or above character). Expression wrinkles cannot be activated for simplified character models like GameBase or ActorCore.
Either create a new CC3+ or above character or open an existing project.
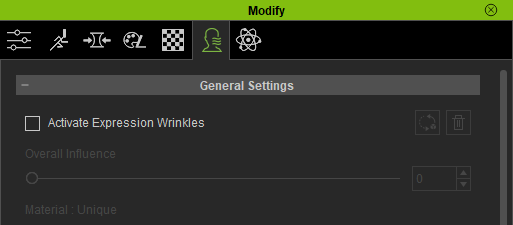
Navigate to the Modify Pane and select the Expression Wrinkles Tab. Please note that the expression wrinkles tab will only be available for valid characters.

Check the ‘Activate Expression Wrinkles’ box to enable wrinkle support for the current character. This box must be checked prior to export of the character, so that the Unity or Blender add-ons can correctly process and utilize the wrinkle system.

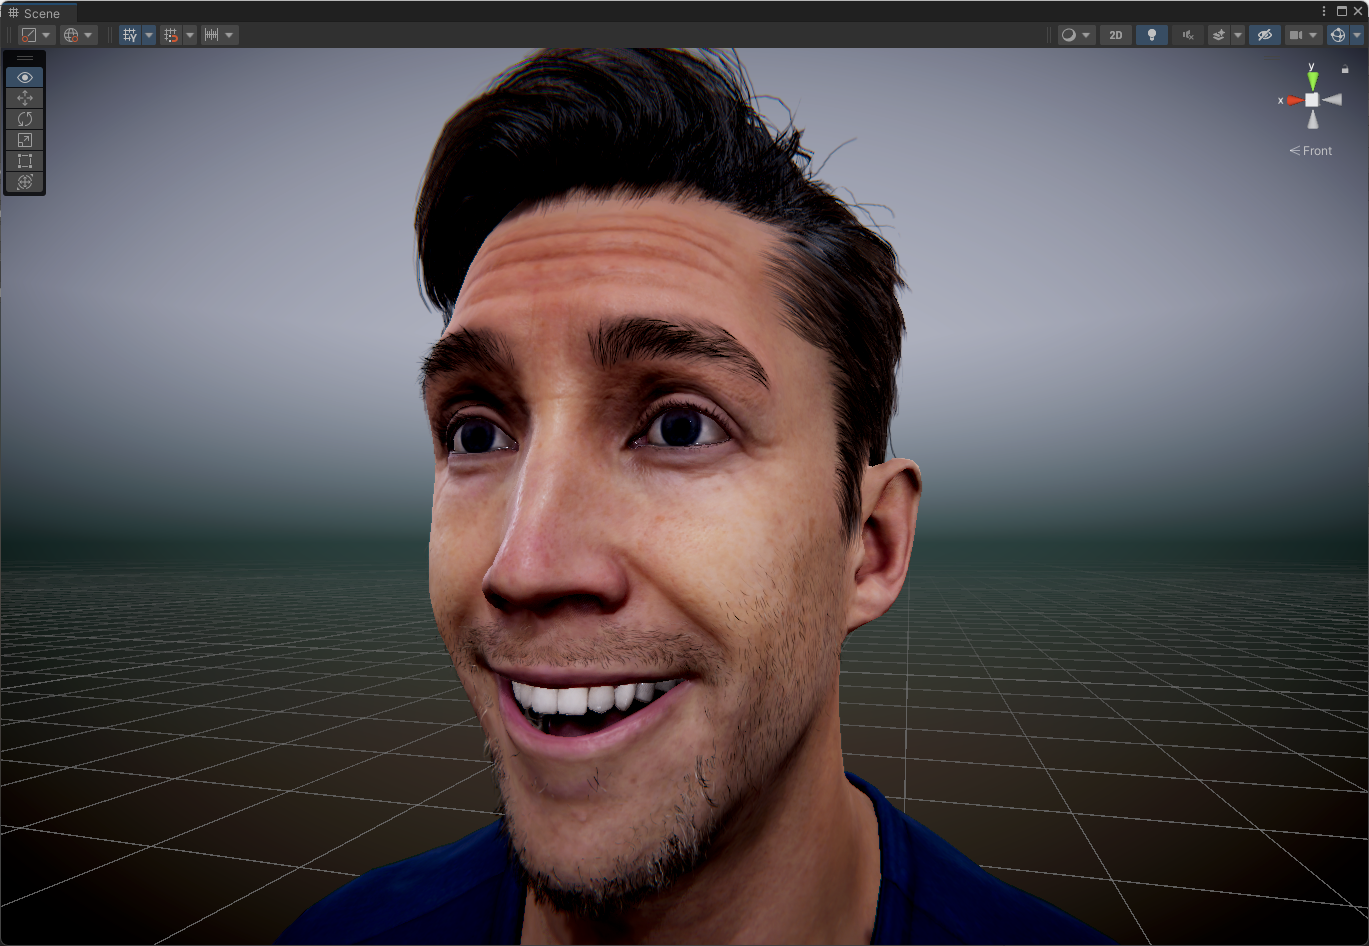
The expression wrinkle system should now be active and any expression changes made by the character should drive the blending of wrinkles onto the skin texture.
Tip
In order to utilize the expression wrinkle system in Unity or Blender, you must first activate the system (as above) in Character Creator and then (re)export the character for the chosen platform.
The system cannot be retrospectively activated for existing Unity or Blender exports since it relies on a new set of textures and masks that will be absent from prior exports (they are also absent from exports made where the expression wrinkle system is inactive).
Expression Wrinkles in Unity
The expression wrinkle system is available in Unity starting with version 1.4.4 of the CC/iC Unity Tools add-on. Exports from Character Creator with the ‘Expression Wrinkle’ system active (see above) can be imported into Unity using the procedure in the Importing into Unity section of the documentation. Wrinkle effects can be optionally enabled or disabled during the ‘Build Materials’ process.
Import the character into Unity as normal (NB: the exported character must have Expression Wrinkles active in Character Creator).
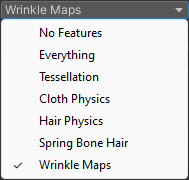
Before you perform the ‘Build Materials’ process, ensure that in the ‘Features’ pulldown menu ‘Wrinkle Maps’ is selected (this will be set automatically on any new character that is imported with expression wrinkles active in CC).

Press the ‘Build Materials’ button. This will build all of the materials and incorporate the expression wrinkle system into the character.

Imported Expression Wrinkles
Tip
Should you wish to disable the use of expression wrinkles for a character that has been processed, then simple go to the ‘Features’ pulldown and disable the ‘Wrinkle Maps’ feature and reprocess the materials with the ‘Build Materials’ button.